How to Download and Update DisplayLink Driver for Windows 10, 11
This article shares the best possible ways to download and install the updated driver for DisplayLink on your Windows 10/Windows 11 computer to prevent annoying multiple monitor problems.
Multi-monitor setups have become a highly-popular way to enhance productivity and multitasking on a PC. Generally, users trust Synaptics DisplayLink products for the multi-monitor setup. However, multiple monitors may not function correctly on your Windows 10/Windows 11 device if there is no updated DisplayLink driver downloaded and installed on your computer.
The driver is an intermediary between your PC and DisplayLink USB graphics to aid the smooth functioning of the device. Without an appropriate and compatible driver, you may end up with annoying multiple monitor problems.
Therefore, this article presents a simple guide to downloading the DisplayLink driver, installing, and updating it on Windows 11/Windows 10. Let us get started with it without wasting your precious time.
Easy Methods to Download, Install and Update the DisplayLink Driver
There are many methods to download the DisplayLink driver for Windows 10/Windows 11, install, and update the same. Let us look at them one by one.
Method 1: Get the DisplayLink driver from the official website
The official Synaptics website is one of the most reliable sources to download and install the DisplayLink driver update. You can follow these steps to download and install the updated driver from Synaptic’s official website.
- Go to the official website of Synaptics.
- Now, choose Downloads from the top menu.

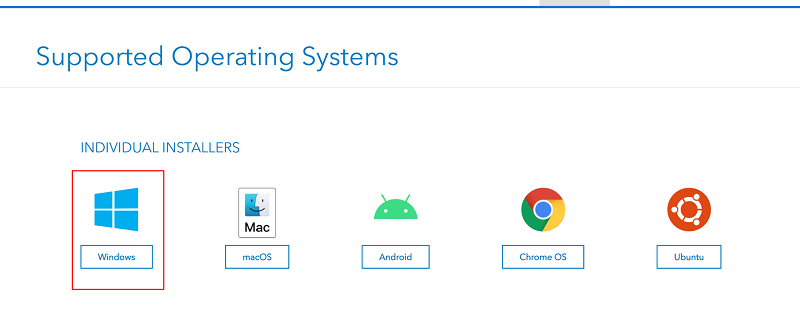
- Select your operating system, i.e., Windows from the Individual Installers section.
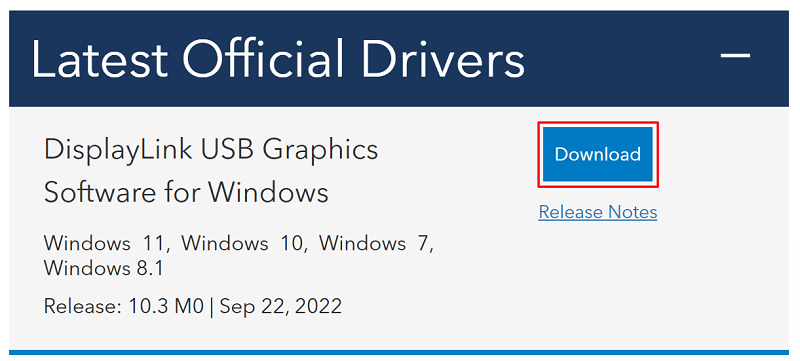
- Scroll down the page and click on the button to Download the latest DisplayLink driver for Windows 10/Windows 11.
- Double-click the downloaded file and follow the instructions to install the driver on your computer.
Also Read: USB to rs232 Driver Download and Update for Windows
Method 2: Download the DisplayLink driver update from Device Manager
The Device Manager utility of Windows 10/Windows 11 lets you download and install the latest DisplayLink driver. You can follow the below instructions to get the required driver through the Device Manager.
- Right-click the Start/Windows icon and pick Device Manager from the menu that appears.

- Click on the USB Display Adapters category to view its contents. If you do not see the DisplayLink driver there, you can find it in the Other Devices section.
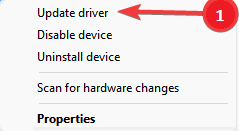
- Right-click the DisplayLink driver and select Update driver from the context menu.
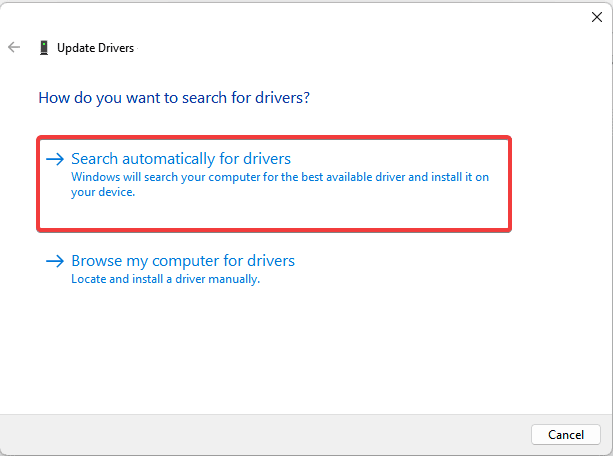
- Select the option allowing the Device Manager to Search automatically for updated driver software. On Windows 11, this option is called Search automatically for drivers.
- Wait for the driver download and installation process to complete.
- After completing the above process, restart your computer.
Note: As you can see, the Device Manager has two options to download and install the required drivers. We discussed the first option in the above steps. If you wish to use the second option, firstly, you need to download the driver file from Synaptic’s official website and then choose the “Browse my computer for driver software” option in the Device Manager. After that, you can follow the on-screen directions to find the downloaded file and install the needed driver.
Also Read: Fresco Logic USB Display Driver Download & Update for Windows
Method 3: Update your device’s operating system
Updating the operating system also downloads and installs the necessary drivers. Hence, you can update your OS to get an updated DisplayLink driver for Windows 10/11 downloaded and installed. Below is how to do it.
- Press Windows and I keys on your keyboard at once to launch the Settings menu.
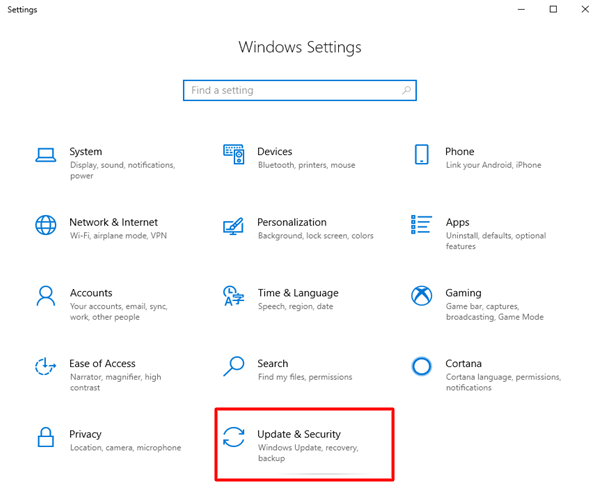
- Choose Update & Security from the available settings.
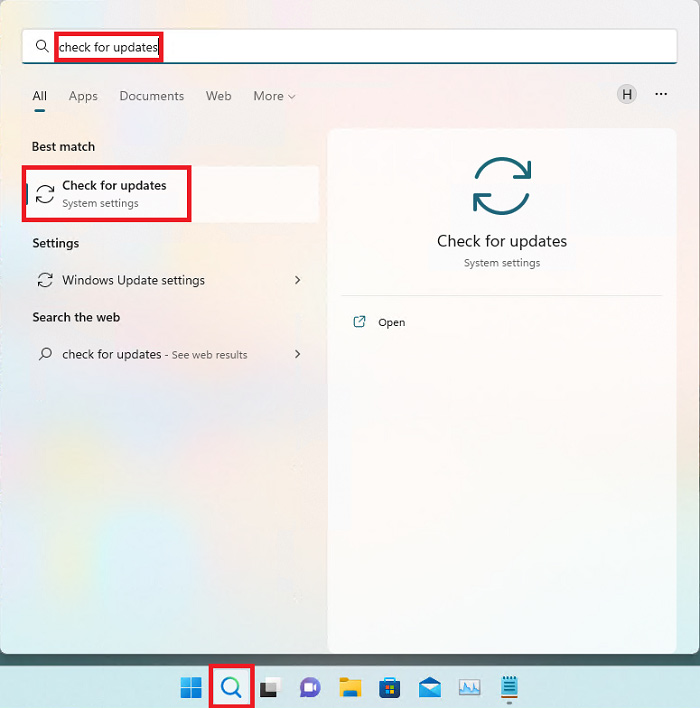
- Select the Check for updates option.
- Download and install the recommended OS update (including driver updates).
- Finally, restart your PC to complete the above process.
Also Read: USB 3.0 Driver Download and Update for Windows
Method 4: Download the DisplayLink driver update and install it automatically (Recommended)
As many users (including us) feel, the above methods to download and install updated drivers are a bit cumbersome. We have a good recommendation if you also think the same.
We suggest downloading, installing, and updating the drivers using a reliable tool like Bit Driver Updater. This software allows you to download and install all driver updates automatically with just a click.
Moreover, the Bit Driver Updater software boasts many helpful features, such as driver download speed acceleration, driver backup creation and restoration, scan scheduling, and a lot more.
You can download and install this incredible software from the link given below.
After installing the software, within a few seconds, you get a list showing all the outdated drivers. You can Update All these drivers automatically with a single click on the button to do so.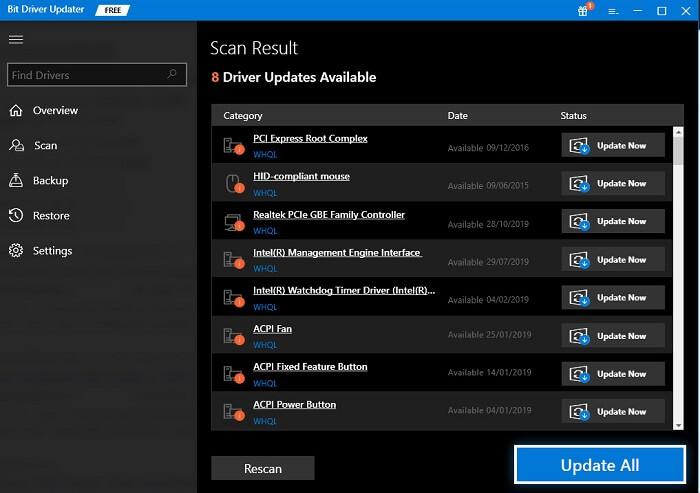
If you find it appropriate to update only the DisplayLink driver, you can use the Update Now button available next to it. However, we recommend updating all the outdated drivers to get the best performance from your computer.
Also Read: Prolific USB to Serial Driver Download and Update
DisplayLink Driver Update Downloaded and Installed
Through this article, we introduced you to the best possible methods to download the DisplayLink driver for Windows 11/Windows 10, install, and update it. You can use any method from the above guide to get the needed driver.
However, for your convenience and to ensure the best performance of your PC, we suggest updating the driver automatically with Bit Driver Updater.
If you are aware of any other better ways to download, install, and update drivers or have any questions, you can share them via the comments section.

