How to Fix HDMI Port Not Working on Laptop (Top Methods)
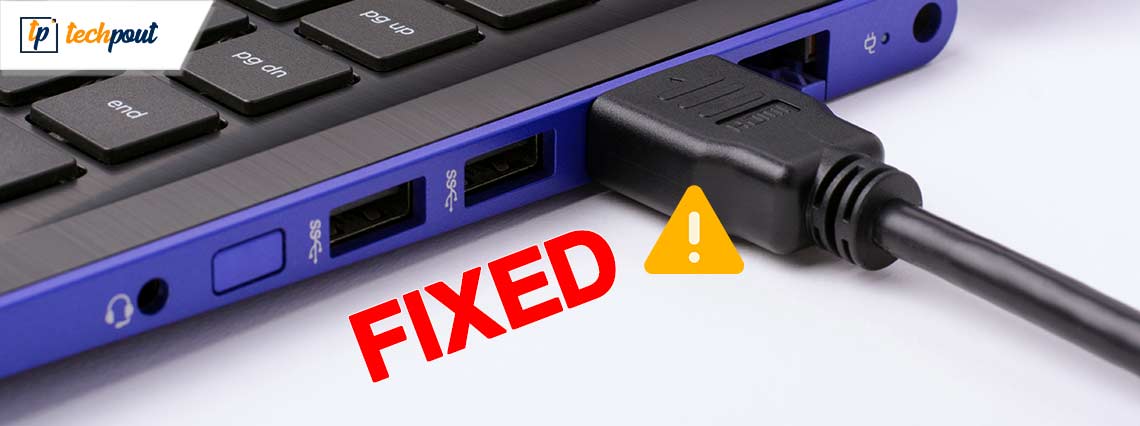
This entire article focuses on the solutions to fix the HDMI Port Not Working on the laptop (Windows 10/11). So, take the help of the guide to fix the issue right away.
Before HDMI was invented, VGA cable was very commonly used to connect various display devices. The VGA cable is quite good but lacks in quality. Hence, most users take the help of the HDMI cable because of its amazing quality and high-end connectivity.
To use the HDMI cable, you need the HDMI port. An HDMI port works like a connector and allows you to connect to a display device using an HDMI cable. Generally, the procedure to use the cable is quite straightforward (simply plug in the device). However, if the HDMI Port Not Working on the laptop, then you will be unable to connect.
So, if you wish to use the HDMI cable but are facing the error, then you need to execute some solutions to fix it. In the coming sections of this guide, we will have a look at all such solutions. So, let’s get cracking.
Method to Fix the HDMI Port Not Working on Windows 11/10
Below are some of the best ways to fix the issue related to the HDMI Port Not Working on the laptop. All the solutions are tried and tested before listing here. We suggest that you follow and execute all the solutions along the way until the issue is fixed.
Fix 1: Configure the Hardware
To fix the error of HDMI Port Not Working on the laptop, you need to configure your hardware first. For this, you should check that your HDMI cable is not damaged in any way. Look for any physical damage to the cable. Further, you also need to check the HDMI port to see if there is any dust or obstruction in the port that may be hampering the connection.
Further, if no physical damage seems to appear, you need to restart the laptop and the display device to see if it works well now. If the error persists, you can move on to the next solution.
Also Read: How to Download & Update HDMI Driver on Windows 10
Fix 2: Configure the Display Device
It is possible that the screen will not appear on your HDMI device if the display setting on your Windows computer is not configured correctly. Hence, to fix the HDMI Port Not Working on the laptop error, you need to configure the connecting device. Consequently, you need to make an effort to customize the Display settings of your Windows PC by following the below steps:
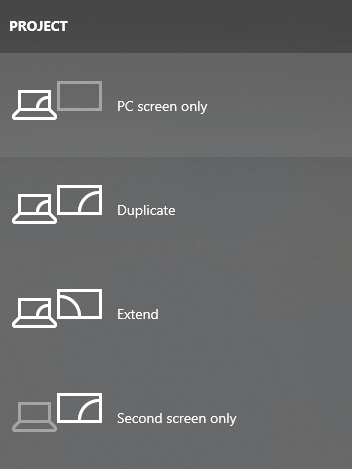
- You will need to use the shortcut key Windows key + P after you have arrived at the display connection screen of Windows 10. A panel containing the settings for the computer’s display will appear in front of you. If you wish to accurately set up the display on your device, you will need to choose an adequate Display setting from the offered options.
- On the panel, you will see the following display settings:
- Extended
- Duplicate
- Second Screen Only
- PC Screen Only
Try adjusting the Display option to the way you would want it to be, and see if this resolves the problem.
If the HDMI Port Not Working on Windows 10 error persists, follow the next solution.
Fix 3: Update the Display/Graphics Driver on the Device
The next solution that can easily fix the HDMI Port Not Working on the laptop error is to update the graphics or display driver. There are multiple ways to update a driver on Windows. However, the best one is to use automatic driver updater software. Win Riser is the best solution for this. The tool allows you to update drivers, remove malware, clean junk, and repair invalid Registries. Hence, the tool is an optimum solution to improve the performance of the device as well.
Follow the steps below to learn how to use this software for driver updates and fix the HDMI Port Not Working on the laptop:
- Click on the below button to download the Win Riser setup and install it.

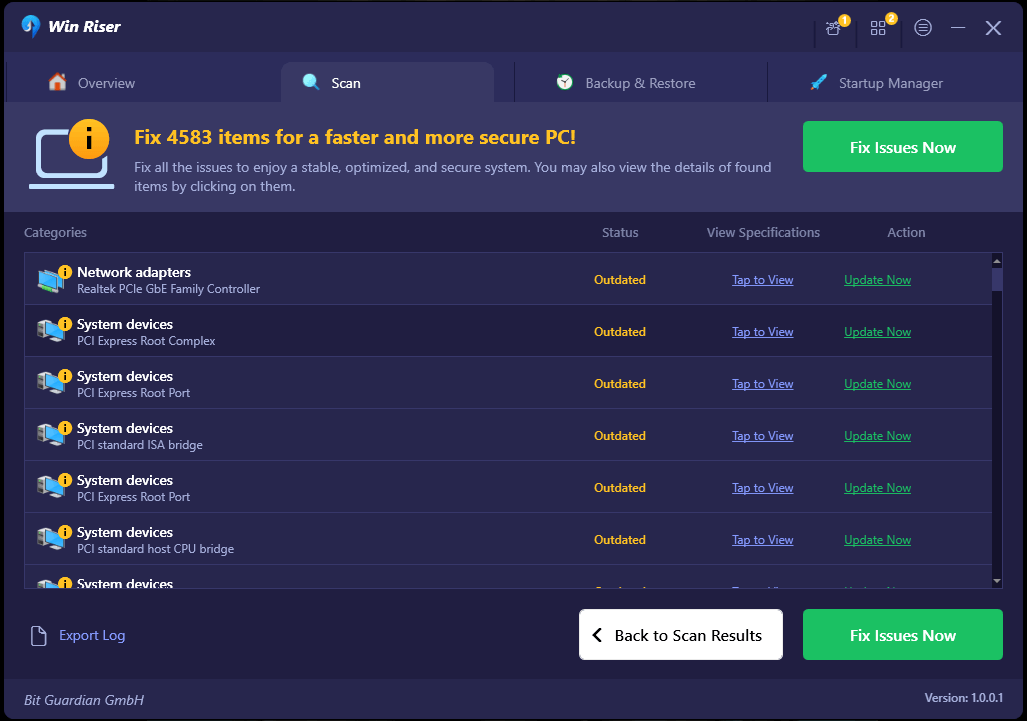
- Once the installation is complete, the tool will run automatically and scan your system for error.
- When the scan results appear, use the Fix Issues Now button to get rid of all the Windows problems.
- Restart the system when the process completes.
If the HDMI Port Not Working on Windows 11 problem still persists, then you need to follow the last solution below.
Also Read: How to Download J5Create Drivers on Windows (USB to HDMI Driver)
Fix 4: Modify the HDMI Device
In the event that none of the aforementioned approaches was successful in resolving your issue of HDMI Port Not Working on the laptop, you should make an effort to determine whether or not your HDMI device(s) is configured to be the default.
It is true that mostly, the HDMI device will not function properly if it is not defined as the default device on Windows. It is thus necessary for you to make the HDMI device that you wish to utilize as the default device.
- Go to the desktop on the Windows 10/11 laptop/PC, a Volume icon is present in the Task Bar, right-click on it before proceeding.
- You should go to the Playback option after you have reached the small window. You will find a list of all of your playback devices under Playback.
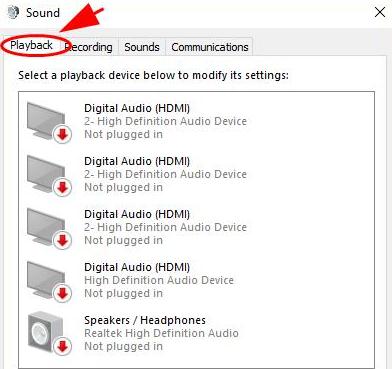
- This list will include the HDMI devices and the integrated playback speaker(s) that are part of your system. Choose the HDMI device that you wish to be the default for the installation.
- Proceed to hit Set Default & then OK at this point. Making the HDMI device for output is now complete.
HDMI Port Not Working on Windows 11/10: Fixed
So, this is how you can easily fix the HDMI Port Not Working on the laptop error. All the solutions offered above are safe to use and do not affect your system in any way. If you have questions related to the guide, we are happy to help. Ask your queries if the issue persists in the comments section below. Moreover, you can also offer your feedback to this guide in the same way.
Also Read: Fresco Logic USB Display Driver Download & Update for Windows
Follow us on Facebook, Instagram, Pinterest, Tumblr, Twitter, LinkedIn, and YouTube to find out more about such tech-savvy blogs. Lastly, subscribe to our newsletter and never miss any tech updates just like this one on how to fix the HDMI Port Not Working on Windows 10.
