How to Update Drivers Using Command Prompt in Windows 10? Try Easy Steps!

The Command Prompt is near and dear to the users who are familiar with all the right and wrong-doings of the system. From installation/uninstallation of apps to complete system scan, from registering or de-registering any program to fix any glitch in the system the Command Prompt is a utility to extract help from in the matters of system errors.
You can also use Command Prompt to update the driver in your Windows 10. How to do that? Well, this article is all about that where you can know how to update drivers using Command Prompt in Windows 10.
Update Drivers Using Command Prompt
Windows offers you a PnPUtil tool integration which can help you download a driver package, install/add the driver and if you wish to uninstall it in the future, it also allows you to remove the driver from the list. Let us take a look at the steps that can help use Command Prompt to update drivers in Windows 10.
To begin with this process, you first have to download or transfer the driver package on your computer. You can download it by visiting the OEM website or use the pen drive to transfer the package into your PC.
Once you have downloaded/transferred the driver package to your computer, you can install it using the PnPUtil.exe tool by entering the path to the INF file that has details of the driver which needs to be installed.
Read Also: Update Drivers Using the Best Driver Updater For Windows
PnPUtil Syntax
pnputil [/add-driver <…> | /delete-driver <…> |
/export-driver <…> | /enum-drivers |
/disable-device <…> | /enable-device <…> |
/restart-device <…> | /remove-device <…> |
/scan-devices <…> | /enum-devices <…> |
/enum-interfaces <…> | /?]
Here are the steps to update the driver in your Windows 10 using command prompt:
- Go to the Start button (Windows icon), in the bottom left of your desktop.
- Now, type Command Prompt in the search bar.
- Then, right-click on the result and choose Run as administrator from the right-click menu and open the Command Prompt with admin rights.
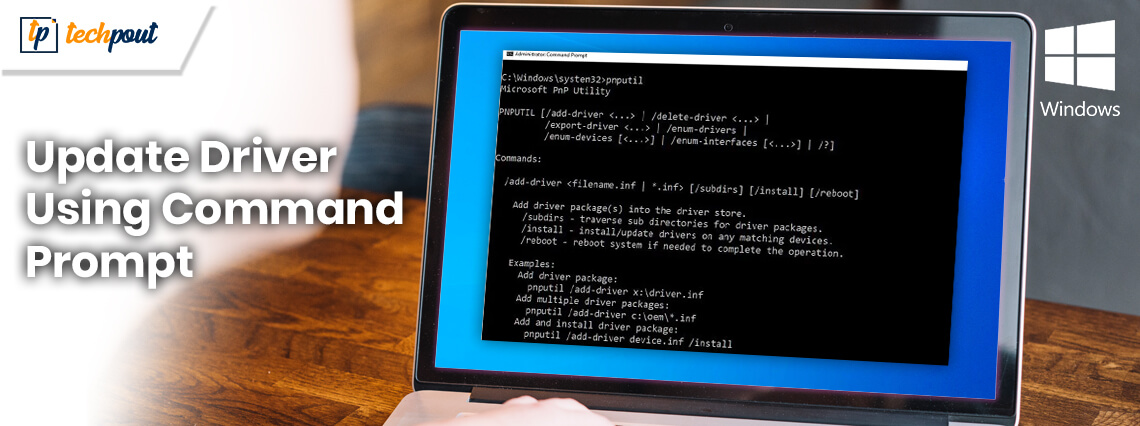
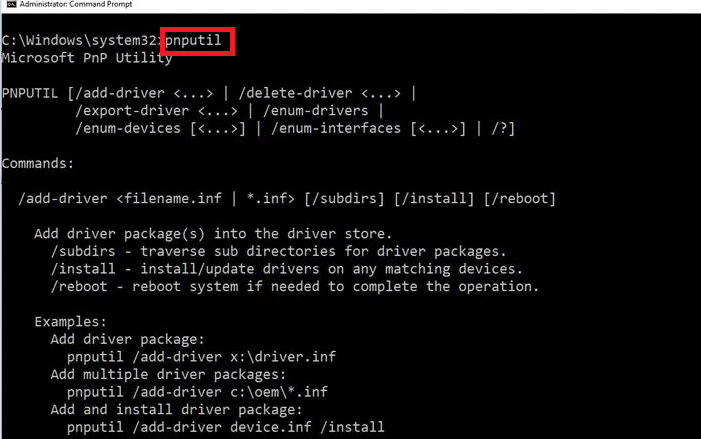
- Once you are on the Command Prompt window, run the command to pull up the syntax and the examples and then click Enter: Pnputil

How to Add a Driver
If you are looking for a way to add the driver, here are the steps that you can follow:
- Open File Explorer and go to the folder location where the driver you want to add is saved.
- Now that you have opened the folder location, copy the driver folder.
- Then you have to open the drive where you wish to paste the copied driver folder. Once you are in the drive, paste the copied folder.
- Next, go to the Command Prompt and run the command to add and install the driver package.
Read Also: How to Update Wifi Drivers on Windows 10, 8, 7
How to Remove a Driver
So far you have come across the steps to install a driver using Command Prompt. If you want to remove the installed driver, here are the steps that you need to follow.
- Open the Command Prompt window and run the following command. Then click Enter: pnputil.exe -e
- Now, note down the OEM number of the driver you want to delete.
- Then, run the below-written command to delete the driver package and hit Enter: pnputil.exe -d OEM number
Manage Your Drivers Using Command Prompt
So, that was it for updating drivers using Command Prompt in Windows 10. It is quite a simple method to update, install or even delete a driver in your Windows PC. Did you find this article helpful? We’d love to read your views and suggestions in the comment lane.


I think the admin of this site is really working hard for his web page since here every information is quality based data.
Thank You, Raina. Glad you liked the article! For more tech-related blogs, follow us on social media and subscribe to our Newsletter.
Each time I used to read smaller posts that also clear their motive, and that is also happening with this paragraph which I am reading now.
Superb, what a web site it is! This blog provides valuable facts to us, keep it up.
Thanks, Jyotsana for sharing the blog, I found your blog on Google search engine, When I search about update drivers using command prompt. Then I read the complete blog, each and every points are clearly mentioned and so easily understood by anyone. So again thank you for sharing such type of blog.
Thanks, Gino! Glad you liked the article! For more tech-related stuff, follow us on social media and subscribe to our Newsletter.
I read this piece of writing fully on the topic of the difference of newest and earlier technologies, it’s an awesome article.
Hi! I’m undoubtedly enjoying your blog and look forward to new posts.
Hello there! This post could not be written much better! Looking at this article reminds me of my previous roommate! He continually kept talking about this. I will send this article to him. Fairly certain he’s going to have a great read. Thank you for sharing!
My brother recommended I might like this web site. He was entirely right. This post actually made my day. You can not imagine just how much time I had spent for this info! Thanks!
Thanks, Dwain! Glad you liked the article! For more tech-related stuff, follow us on social media and subscribe to our Newsletter.
Wow, this piece of writing is pleasant, my younger sister is analyzing such things, therefore I am going to inform her.
Sounds really good ❤
Hi, my loved one! I wish to say that this post is amazing, great written and come with approximately all vital Infos. I would like to peer extra posts like this.