How to Fix Valorant Vanguard Not Initialized (FIXED)
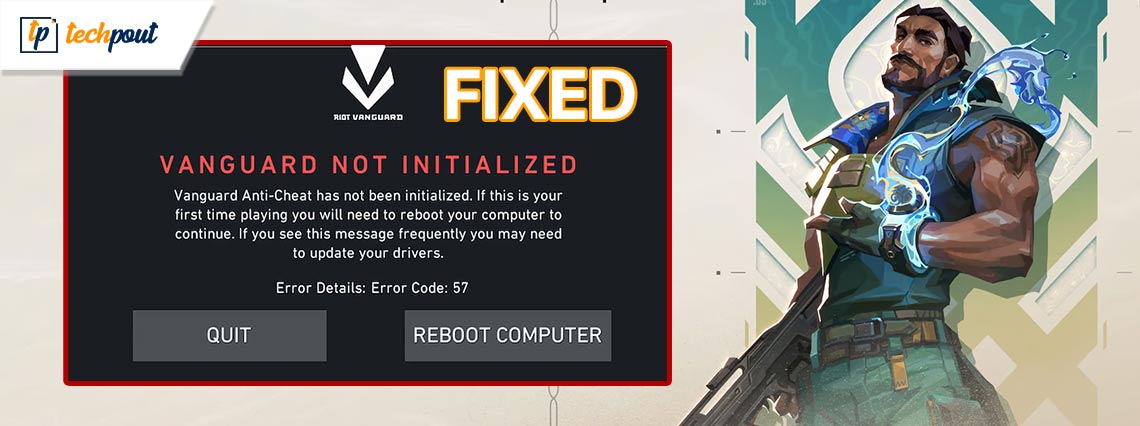
You can read this article to learn the best possible ways to fix the Valorant Vanguard initialization issue.
Valorant needs no introduction. Developed by Riot Games, it is one of the best first-person tactical hero shooter games. The game’s precise gunplay and adaptive teamwork keep millions of gamers hooked on it. However, it can be extremely frustrating if the game crashes on your computer as a result of the Valorant Vanguard not initialized error.
If you are experiencing a similar situation, please do not be disheartened. This article guides you through the most suitable fixes for the Valorant initialization error. However, it is crucial to learn the problem’s causes before proceeding to the solutions for better troubleshooting. Hence, let us discuss the same in the subsequent section of this article.
Why Is Valorant Vanguard Not Initialized
The following factors may be responsible for the Valorant Vanguard initialization error.
- Outdated graphics driver/unverified drivers
- Random Vanguard bug
- Issues with the anti-cheat program of Vanguard
- Problems with the Vanguard version
After going through what may have caused the issue, let us learn how to fix it.
Fixes for Valorant Vanguard Not Initialized Error 57/128
You can apply the following solutions to solve the initialization problem in Valorant Vanguard.
Fix 1: Exit Valorant Vanguard and re-open it
Sometimes, simple solutions like restarting the game go a long way in solving problems like the one you are trying to solve. Hence, you can exit and re-open Valorant Vanguard before trying any complex fixes to check if it solves the problem.
Also Read: Valorant Not Launching on PC Error [FIXED]
Fix 2: Try disabling Windows testing mode
Windows testing mode runs unverified drivers which may prevent Vanguard from functioning correctly. Hence, you can disable the testing mode to fix the Valorant Vanguard not initialized issue by following the below steps.
- To begin with, search for and open Command Prompt as an administrator.
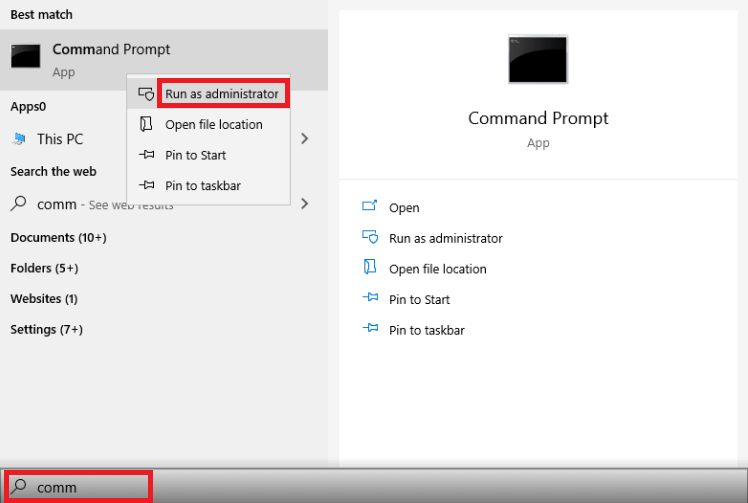
- Secondly, input the following commands one after the other. Please remember to press Enter after typing each command.
bcdedit -set TESTSIGNING OFF
bcdedit -set NOINTEGRITYCHECKS OFF - Lastly, open Valorant and reboot your computer after executing the above commands.
Fix 3: Set your VGC service to automatic
Vanguard’s service VGC may not trigger the actual driver blocking cheats when your system starts, resulting in the issue you are struggling with. You can set the service to automatic to solve this problem. Here is the step-by-step process to do it.
- Firstly, open Command Prompt as an administrator.

- Secondly, input the following commands one after the other and press Enter after typing each command.
sc config vgc start= demand
sc config vgk start= system - Lastly, launch Valorant and select Reboot Computer from the available options.
Also Read: How to Fix Valorant VAN9003 Error [FIXED]
Fix 4: Repair Valorant
Valorant boasts a feature to help you repair corrupted game data to fix the initialization error. You can follow the below directions to use it.
- To begin with, download the Valorant installer.
- Secondly, open the downloaded setup.
- Now, navigate to the Advanced options and choose the location where you have Valorant installed.
- You can now click on the Install button to start the repair process.
- Lastly, restart your computer after the repair is complete.
Fix 5: Update Windows
The Windows version you currently have on your computer may interfere with Valorant Vanguard, resulting in the Valorant Vanguard not initialized error. Hence, you can update Windows by following the below instructions to solve this problem.
- Firstly, launch the Settings panel using the Windows+I keyboard shortcut.
- Secondly, choose Update & Security from the available options.
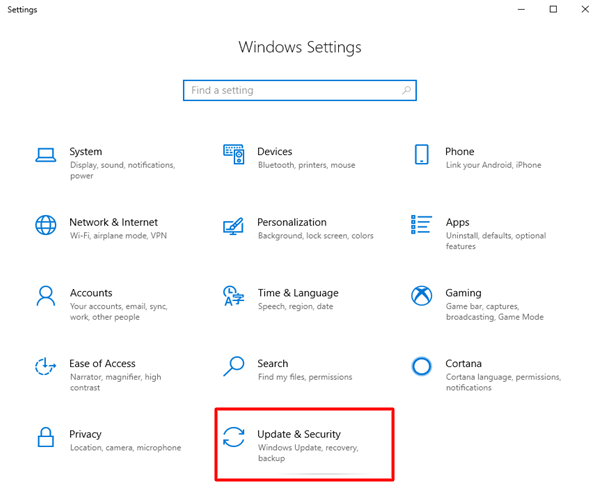
- You can now select the Check for updates option.
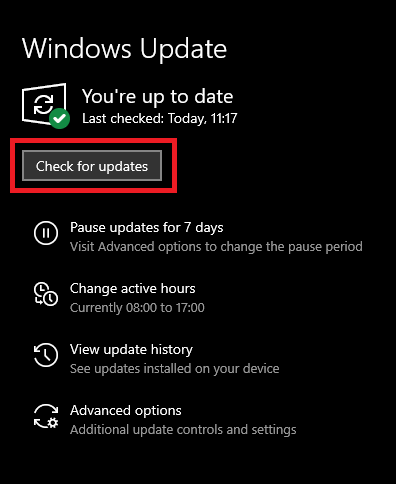
- Download and install the latest Windows updates on your computer.
- Lastly, restart your PC after completing the above steps.
Also Read: How to Fix Valorant ‘Graphics Driver Crashed’ Error {Quick Tips}
Fix 6: Update your graphics driver (Recommended)
Almost all the gaming issues, including Valorant Vanguard initialization errors, occur because of outdated drivers. Hence, performing a driver update can certainly solve your problem.
You can update drivers effortlessly via reliable programs like Win Riser. The Win Riser software updates all drivers with just a click. Moreover, it offers driver backup and restoration, junk removal, malware detection, and a lot of other helpful features. You can download and try this wonderful software from the following link.
After installing Win Riser, let the software complete the PC scan (it takes two to three seconds to complete it), review the results, and click on Fix Issues Now for an instant solution to all problems.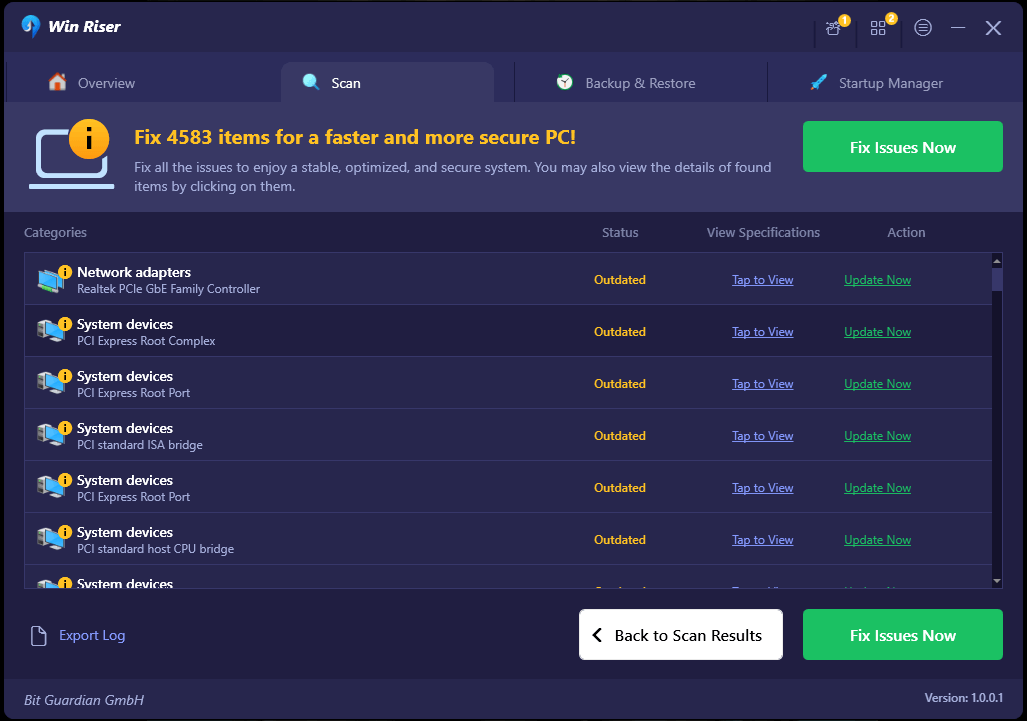
Fix 7: Uninstall and reinstall Vanguard
If none of the above fixes solve your problem, you can uninstall and reinstall Riot Vanguard as a last resort. Here are the steps to do so.
- Firstly, press your keyboard’s Windows logo key and input Add or Remove Programs in the on-screen search box.
- Secondly, select Add or Remove Programs from the search results.
- You can now locate Vanguard in the list of apps and features.
- Click on Riot Vanguard and select the Uninstall option.
- Lastly, reinstall Vanguard from the Valorant client.
Also Read: How to Fix Graphics Device Driver Error Code 22 (FIXED)
Valorant Vanguard Not Initialized Error Fixed
This article guided you through various tried and tested fixes for the Valorant Vanguard initialization error. You can start troubleshooting with the first solution and continue moving forward until the problem is resolved. If you have any doubts, questions, or suggestions about this article, feel free to leave a comment.


